
 |
| Old FDSStick vs New FDSStick (with a penny for scale) |
http://3dscapture.com/fdsstick/
International customers order from TotoTek for $14.99 plus shipping here :
http://www.tototek.com/store/index.php?main_page=product_info&products_id=196
The FDSStick has a USB plug on one end and a 12-pin cartridge edge on the other end which the FDS RAM Adapter cable plugs into. The FDSStick is unusual for a device that interfaces with vintage computing equipment because it is completely hot swappable. The USB end obviously has no issues with being inserted into a live computer or hub. The FDS end can be inserted onto the end of the FDS RAM Adapter's cable when the Famicom is turned on. The RAM Adapter cable was designed to plug into the Disk Drive when both the drive was plugged into a wall socket or running off batteries and the FDS RAM Adapter was plugged into a Famicom that is turned on.

Installing the FDSStick, Loading Games onto the FDSStick and Saving Games from the FDSStick
The FDSStick is easy to install and use. First, you insert it into a spare USB port or hub (which does not need to be powered). The FDSStick will load its drivers automatically. I did not need to be in Test Mode to load the driver, apparently loopy has Windows Driver Signing privileges. Click “Run Anyway” when Windows says it does not recognize the program.
There is a graphical user interface (GUI) program, FDSStick.exe to transfer disk images to and from the FDSStick. You can download them it from http://3dscapture.com/fdsstick/ The program will automatically detect when the FDSStick is plugged into a USB port attached to the computer. The program is not particularly useful without the FDSStick, the GUI program will not load when FDSStick is not plugged into the computer. As downloaded, the file name of the program will include the date of release.

FDSStick.exe allows you to load .fds images onto the FDSStick and save images from the FDSStick in .fds format. It will also run images in the Game Doctor format, but unless you have a Game Doctor device, you probably will never encounter a Game Doctor image. Running the GUI program with the FDSStick plugged in will update the firmware, which I highly recommend to everyone because the new firmware can add features and fix bugs.
The oldest version of FDSStick had 4 Megabits of rewriteable memory and can hold up to 8 disk sides on its flash memory at a time. The second version FDSStick has 16 Megabits of rewriteable memory and can hold 32 disk sides on its flash memory at a time. The third version of FDSStick has 128 Megabits of rewriteable memory and can hold 255 disk sides on its flash memory at a time. The fourth version of FDSStick has 256 Megabits of rewritable memory and can hold 512 disk sides on its flash memory at a time.
If each game you want to load is only one-sided, you can load 512 games onto the current FDSStick. There are only 199 licensed FDS games, however some games have multiple versions. There were many unlicensed games released for the FDS by companies like Hacker International. However, if your games are two-sided, then you will be able to load no more than 256 games. Only six four sided games were ever released. You can mix and match games using different numbers of sides so long as the total number of disk sides does not go above the maximum number of disk sides supported by the version of FDSStick you have.
The program has a meter that will show how full the FDSStick will be when you write your images to the device. When you have finished making your choices, click on write and it will quickly write the images to the FDSStick. It will take less than a minute to write the maximum number of disk sides to the FDSStick. Saving the existing games to your PC can be done in the same tab, using the file name you used when you originally loaded the game. You can also remove individual games from the FDSStick using the GUI without erasing the whole of the rewriteable memory.
The program can also load games stored on your PC with the PC Emu tab. This is useful if you have an FDSStick with a small amount of rewritable memory, but the price for the most recent version is so reasonable that it is well worth an upgrade double dip. You must connect your FDSStick to your PC using a USB cable extender to allow this to work.
Using the FDSStick with the FDS RAM Adapter and the Twin Famicom
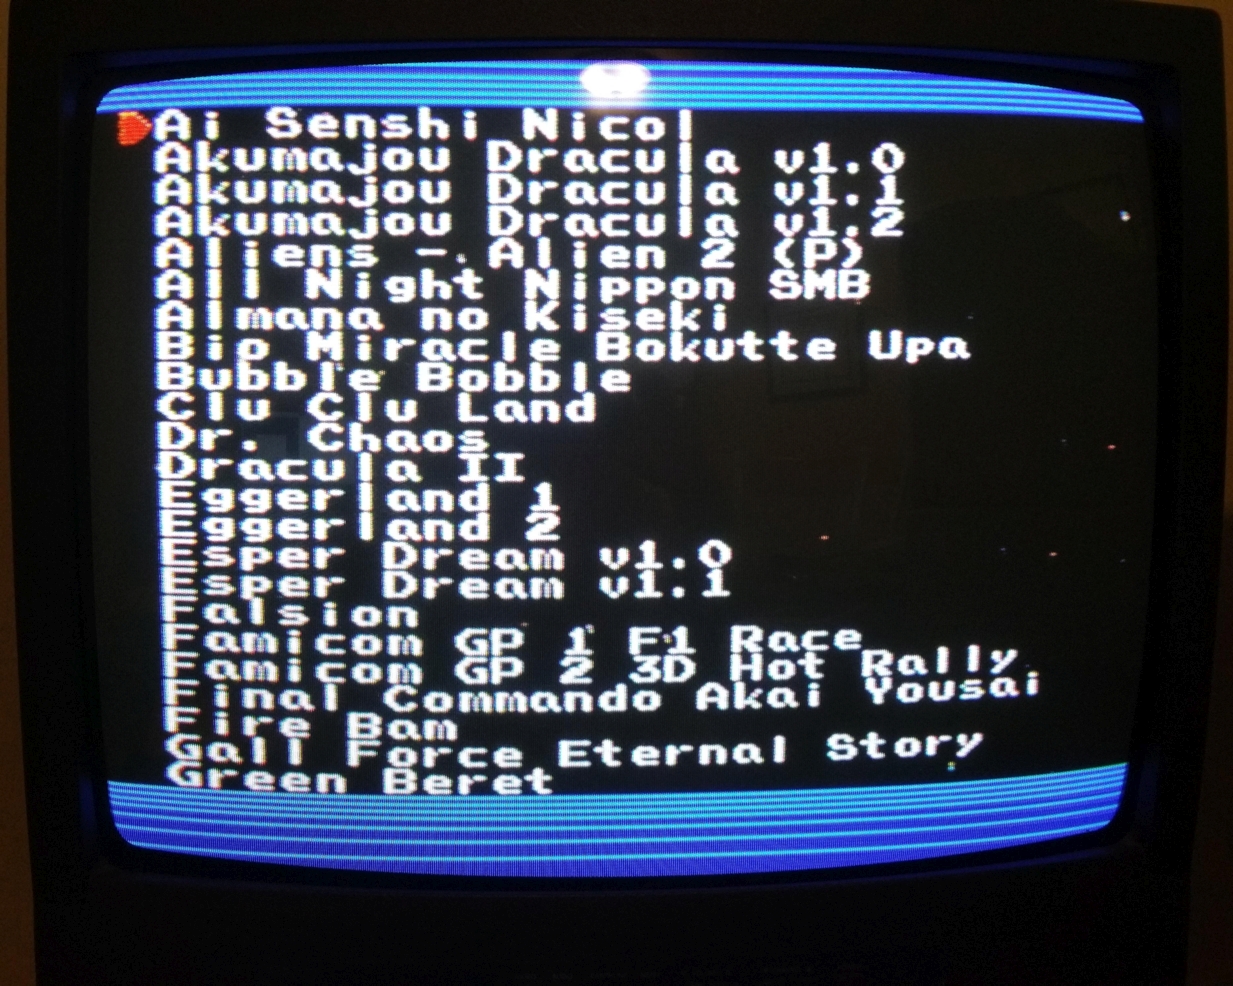
When you insert your FDS RAM Adapter into your Famicom and turn the system on, you will see the Nintendo logo (or FAMICOM if you are using a Twin Famicom) with the Please Set Disk Card text. You can insert your FDSStick into the FDS RAM Adapter cable before or after you turn the system on. A menu will appear on the screen and you can select the game using your controller, just like with a PowerPak or EverDrive N8. Unlike those flash carts, the FDSStick does not support subdirectories. You may want to trim down the file names to no more than 28 characters so that the game's name will fit on the menu screen. Spaces count, but the extension does not.
 |
| FDSStick Game Menu |
After the game loads, it may ask you to change disk sides. If it asks you to change to side A, you always press the button once. If it asks you to change to side B, you always press the button twice. If you want to select a new game, turn the power off on the console and back on to return to the FDS menu.
It is much easier than it used to be for sure! In the oldest firmwares, there was no menu on the FDS "Please Set Disk Card" screen. You had to know the order in which the game was written to the FDSStick. When the FDSStick was first released, you had to know which of the eight slots the disk image's side A was in. Prior to the firmware update, you also had to remember the slot in which the game's side A and B were located. You also had to use a Command Line Interface if you wanted to write more than one game to the FDSStick. Now it is incredibly intuitive to use the FDSStick. Don't get started on the dark ages of the pre-FDSStick era.
The Twin Famicom does not have a RAM Adapter or a cable to connect to the FDSStick. This is not surprising because the whole point of the Twin Famicom was to combine the Famicom and Famicom Disk System in an all-in-one unit. However. the Twin Famicom has a port on its underside that has the signals the FDSStick needs. For an extra $4, you can buy an adapter for the Twin Famicom that will easily interface with this port, but you will need a cable from an FDS RAM Adapter or find a Nintendo Multi-Out connector with connections for 11 of the 12 pins. See http://3dscapture.com/fdsstick/ for more details.
Reading and Writing Real Disks
The FDSStick can copy to or from FDS Disks using the FDS Drive using the Disk tab of the program. However, there are two difficulties with putting disk images onto real disks. First, the drive must not be protected or the protection must be bypassed. FDS Drive protections are covered here :
http://famicomworld.com/workshop/tech/fds-power-board-modifications/
http://famicomworld.com/workshop/tech/famicom-disk-system-fd3206-write-mod/
Second, you will need to make a coupling cable or start soldering wires. Both the disk drive and the FDSStick use a male end, so you will need a cable with female to female connectors. You can do this if you had two spare FDS RAM Adapters to cannibalize, you can use a pair of Nintendo Multi-out cables or you can solder wires directly from the exposed Disk Drive Power Board PCB to the test points on the FDSStick PCB. I would suggest the second option using cheap third party connectors. You will need to cut, file or grind down the bump that keeps the cable going in the right side up in Multi-Out sockets. I would suggest a dremel for this purpose or a file.
After you have a good fit, look here for instructions on how to solder the wires : http://3dscapture.com/fdsstick/
Once you have your cable, insert your disk into the drive, power up the drive, and connect your coupling cable to the drive and the FDSStick. Connect the USB end to your PC and use fdsstick.exe to read from a disk or to write to a disk. It will save the image in the FDS format, but unlike the images found in the TOSEC and No-Intro sets, it will preserve the 16-bit CRC bytes for each file on the image. Emulators had no use for the CRC bytes. It should also preserve the exact number of Gap bytes between each file and before the beginning of the disk. The exact number of Gap bytes is indicated by a terminating bit, which is not needed by emulation. There may be some copy protected games that require this sort of information, but I am not aware of any.
Some games have a simple method of copy protection whereby they put files after the last file indicated in the file number block. These files appear hidden and will not be transferred in a file by file transfer, but will if the dumper always dumps 65,500 bytes as loopy's should do. When loopy's device loads FDS game images from TOSEC or No Intro from its internal storage, it calculates and adds CRC bytes and Gap termination bits for the FDS RAM Adapter.
If you have trouble reading and writing disks, look to the information in the later pages of this thread, for advice : http://forums.nesdev.com/viewtopic.php?f=9&t=12163 If your disk is damaged, not much can be done except to combine it with an undamaged disk from the No Intro or TOSEC sets.
Why Buy the FDSStick?
I have been able to complete the following games from start to finish without issue using loopy's FDSStick :
Akumajou Dracula (Demon Castle Dracula/NES Castlevania)
Dracula II: Noroi no Fuuin (Dracula II: The Seal of the Curse/NES Castlevania II: Simon's Quest)
Hikari Shinwa: Palutena no Kagami (Myth of Light: The Mirror of Palutena/NES Kid Icarus)
Legend of Zelda 2: Link no Bouken (Legend of Zelda 2: Adventure of Link/NES Zelda II: The Adventure of Link)
Metroid
Yume Koujou: Doki Doki Panic (Dream Factory, Heart Pounding Panic/NES Super Mario Bros. 2)
Zelda no Densetsu: The Hyrule Fantasy (NES Legend of Zelda) (first and second quests)
I think that is a fair endorsement for this device. Everything else I have tried works without flaw, as long as you avoid corrupted images. If an image from the No-Intro set appears corrupt (like Palutena used to be in older sets), try one from the TOSEC set and vice versa. Note that No-Intro will put a [b] next to working images because they have saves on the disk. A disk with saves is impure, but I have figured out how to "purify" many FDS games : http://nerdlypleasures.blogspot.com/2015/06/cleaning-saved-information-from-famicom.html
One awesome feature of the FDSStick is that you can backup your saves. When you beat any of the above games, you will not be able to see the ending unless you beat the game again. Use an FDSStick to back up your game before you beat it and you can reload the fds image whenever you want to see an ending.
The currently available NES/Famicom flash carts just do not cut it when it comes to FDS emulation. The NES PowerPak can fail with certain games and its sound emulation is sometimes off. The EverDrive N8 is more reliable with games but you cannot pause a game when the game wants to change disk sides and the sound emulation is worse. Even the mighty Hi-Def NES Mod and Analogue Nt will have notably "off" FDS sound.
The RAM Adapter, on the other hand, provides perfect sound. It does not crash when given good images. FDS RAM Adapters can usually be had for $50 shipped. It makes those FDSLoadr cables and Game Doctor devices thoroughly obsolete. There are also other similar devices like the FDSemu (256Mbit) and the Magic Wild Card (uses microSD cards), but they are more expensive. These are probably the best reasons why you should consider the FDSStick.
Excellent review, very helpful. Thanks.
ReplyDeleteThe FDSemu has just been released and offers double the storage, along with support for unofficial roms to name but a few improvements over the FDSStick.
ReplyDeleteI am aware of the FDSemu, and it does have a 256Mbit option for $5 more than the FDSStick. Neither the 128Mbit nor the 256Mbit versions of the FDSemu have an enclosure. The FDSStick (128Mbit only available now) comes with an enclosure and only costs $30.
ReplyDeleteI'm not sure about the FDSemu, but the FDSStick can now run games directly from a PC instead of loading them onto the flash. You have the FDSStick connected to your PC's USB drive or use a short extension cable and connect the other end to the FDS RAM Adapter. Start up the FDSStick Windows application, select your game and then turn on your Famicom and have fun.
Can you elaborate on what you meant by "If your disk is damaged, not much can be done except to combine it with an undamaged disk from the No Intro or TOSEC sets."
ReplyDeleteIf the disk itself is "damaged" then wouldn't it be impossible to fix? Meaning it is physically compromised?
If you meant the disk image on the disk... then using a No Intro or TOSEC image on it to get it working again... what did you mean by "combine".
Follow-up question... what would the FDS behavior be if you wrote a 1 sided disk image(i.e. SMB2) to a disk with the 2 sided header? Meaning, what if the fds image had an 02 setting in the 04 address but it was only a 64k game.
ReplyDeleteWould the FDS drive/ram adapter dish out an error or will it still boot up?
I was referring to magnetic damage/read errors, not physical damage. In most cases, I would suggest that people would simply grab the No Intro image and just use that. FDS disks have a file system, so it is possible to combine good from two or more separate images to make a working game.
ReplyDeleteI really do not think it would be an issue if the header was incorrect as to the number of disk sides because it is so easy to fix. Personally I have never found an image that specified a greater number of disks than the game required.
GH,
DeleteThank you for the response. If you have a little time, would it be possible for you to write SMB2 with the 04 address header set to 02 on a physical disk and test it? I'm afraid I'm troubleshooting an issue and knowing what the FDS does in this scenario would go a long way to help rule out some possibilities. Thank you!
I did as you suggested and found that SMB2 loads and plays normally if you set the header to indicate two disk sides. However, I extended your idea to a two sided game (Akumajou Dracula) by setting the header to indicate four disk sides. The game loaded and ran correctly with no issue when it asked the player to set disk side B. I tried pressing the FDS button three times to insert "side C", but the FDS refused to acknowledge the third button press. The FDS will show a red LED for each button press and it only showed two. Finally, I removed the headers for both games and they still loaded and played correctly. Akumajou Dracula processed the side side change correctly. Therefore, I believe that the FDSStick does not need headers at all. It must rely only on the file size to determine how many disk sides to load.
ReplyDeleteGH,
ReplyDeleteI'm afraid I must apologize, it seems I did not make my request very clear. The test I am looking to have done must be done on actual physical media, not using the FDSstick. When you said you pressed the button, I am guessing you are referring to the FDSstick's button. The FDSstick should only be used to write to the FDS drive an onto a disk.
I will provide a little background so you can understand the predicament I am in. I recently purchased everything FDS related. I am a late adopter to the awesomeness that is the FDS system. So I just got my FDS, FDSstick, and bought one disk with Exciting Soccer on it. When I received everything in the mail, I tested it all out and it was working fine. I then proceeded to mod my power board since it was the 04 version but luckily I got a 7201 drive. I once again tested my drive with Exciting Soccer and it worked fine. Thinking I was in the clear, I wrote SMB2 on one side and SMB on the other. Both are one sided games but it turns out they had the 02 setting in the 04 header. Now, for whatever reason I can't get anything to boot... always shows error 22. It's gotten to the point that I am second guessing if my FDS drive is now messed up. (likely not). Anyway, the cable I used to write the data to the disk using the FDSstick got messed up beyond repair so I can't rewrite the disk. I ordered a couple of them and I'm waiting on them to come in... in the mean time, I just need to know if the actual one sided disk will boot if the 04 header is incorrectly set. Phew... sorry for the long explanation.
On your recommendation I've picked this thing up, and it works great. I don't have much else to add here, but it's great to have some way to play my FDS games longer term, considering that floppy disks tend to have pretty bad bit rot over time. Frankly I'm shocked the ones I have still work as good as they do.
ReplyDeleteHello!
ReplyDeleteWonderful blog and posts! I've learned a lot!
I have an original working Vintage Nintendo Famicom (assembled in Venezuela) it has all original parts (Nintendo AC Adapter), it's model "ASIA-001" it says. Plays normal 30-pin games.
My question is. Whenever I see a RAM Adaptor for the Famicom on eBay it says: "This RAM Adapter requires a JAPANESE Famicom Disk System console or a FDSStick to be used (non included!)"
Do you think my console will work with this original Nintendo RAM Adaptor so I can use the FDS Stick to play games?
Thank you!!!
I am not aware of an official Famicom Asia Version. I know Nintendo manufactured official Famicom Hong Kong and Taiwan versions. If your console looks like this : http://scanlines16.com/en/blog-3/retro-gaming/nintendo-nes-famicom/famicom-from-taiwan-et-autres-histoires-sur-la-distribution-asiatique/, then you should be good.
ReplyDeleteHowever, if this is your console, http://www.famicomworld.com/forum/index.php?topic=13329.0, then the FDS Ram Adapter may or may not work : http://www.famicomworld.com/forum/index.php?topic=4275.0
HI can i put Nes roms too? or just FDS
ReplyDeleteJust FDS, but there are several smaller games that received official straight Famicom to FDS ports. I think I made a list of them elsewhere on the blog.
ReplyDeleteHi , i just ordered the fds stick and ram adapter , got the ram first but its showing error 02 will the stick solve that ?
ReplyDeletethanks
Hi fds stick works great on famicom but not on retron hd gives batery error probably because its 5volts instead of 9volts any solutions?
ReplyDeleteIt's a shame this does not use a micro SD slot. Flash does fail and eventually wear out so I'd rather be able to replace a cheap SD card than buy a whole new device. It would also make the storage space issue moot.
ReplyDeleteOr maybe we can convert some nes roms to fds?
ReplyDeleteVery difficult to do, even for the simplest NES ROMs. Because the FDS has a BIOS ROM which always resides in memory, it shifts the location in memory allocated to PRG-ROM by 8KB. That means all memory pointers have to be fixed for any game you want to port.
Delete